Checking your MySQL version on Hostinger is straightforward. It helps in ensuring compatibility with your applications.
Knowing your MySQL version is crucial for managing databases effectively. Whether you are debugging issues or planning upgrades, having this information at your fingertips is vital. Hostinger offers user-friendly tools that make this process simple and quick. This blog post will guide you through the steps to find your MySQL version on Hostinger.
You’ll gain a clear understanding and be able to check your version with ease. Follow along to ensure your database remains in top shape and compatible with your needs.

Accessing Hostinger Control Panel
Accessing the Hostinger control panel is simple and quick. This guide will help you check your MySQL version on Hostinger. Follow these steps to get started.
Logging Into Hostinger
First, log into your Hostinger account. Visit the Hostinger website. Enter your email and password. Click the “Login” button.
Navigating To Control Panel
After logging in, find the “Hosting” tab. Click on it. You will see a list of your domains. Select the domain you want to manage. Click the “Manage” button next to it.
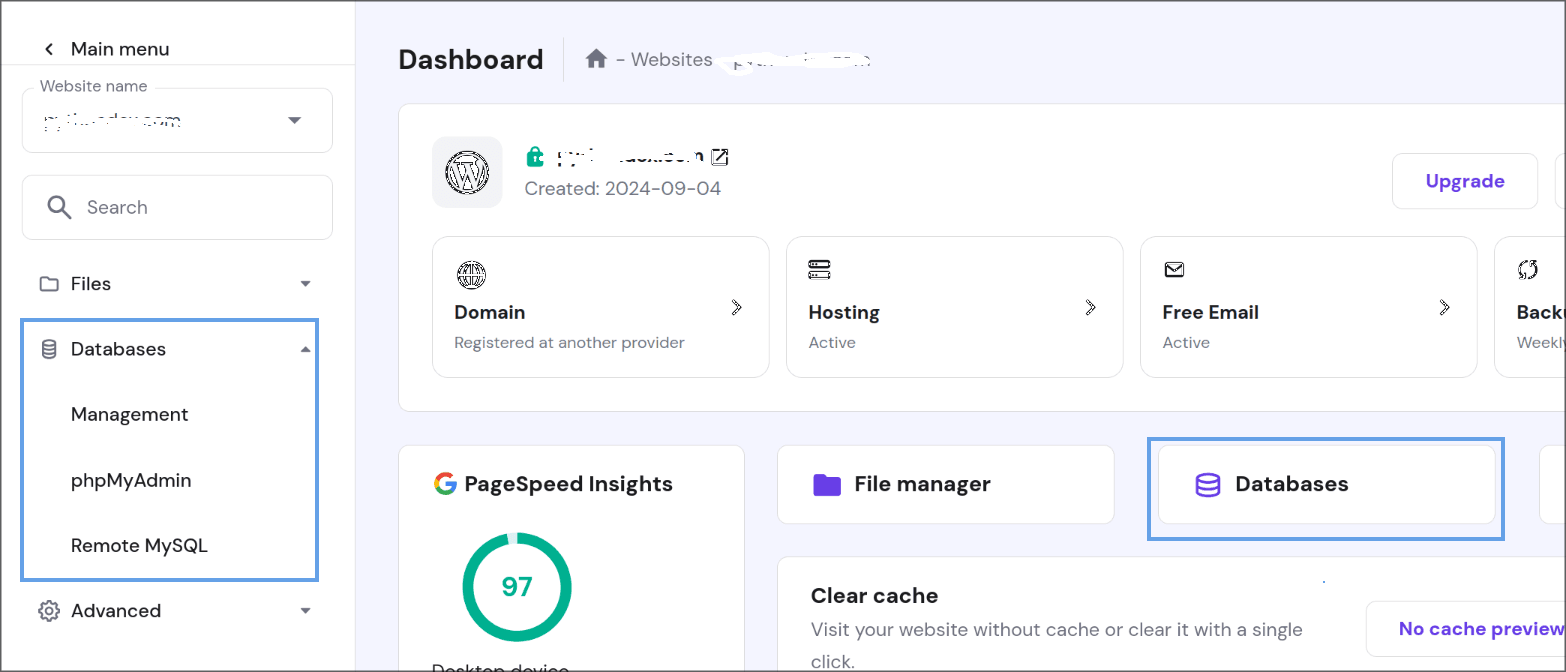
This will take you to the control panel. Here, you can access various tools and settings. Look for the “Databases” section. Click on “MySQL Databases”.
Now, you can see your MySQL details. The version number will be displayed here. You have successfully accessed the Hostinger control panel and checked your MySQL version.
Locating Mysql Databases
Locating MySQL databases in Hostinger can be simple if you know where to look. This section will guide you step-by-step to find and manage your MySQL databases. By following these instructions, you will ensure smooth database management.
Database Management Section
First, log in to your Hostinger account. Once logged in, navigate to the control panel. Look for the ‘Databases’ section. This is where you can manage all your databases. Click on ‘MySQL Databases’ to proceed.
Selecting Your Database
In the ‘MySQL Databases’ section, you will see a list of all your databases. Each database will have a unique name. Select the database you need to manage by clicking on its name. You can now view and edit your database settings. This section provides all necessary tools for database management.
Checking Mysql Version Via Control Panel
Knowing your MySQL version is essential for database management. Hostinger’s control panel makes this task simple and quick. Follow these steps to check your MySQL version using the Hostinger control panel.
Database Settings
First, log in to your Hostinger account. Navigate to the control panel. Look for the Databases section. Click on the MySQL Databases option. This section contains all your database settings.
| Step | Action |
|---|---|
| 1 | Log in to Hostinger |
| 2 | Go to the control panel |
| 3 | Click on MySQL Databases |
Version Information
In the MySQL Databases section, locate the Current MySQL Version field. It displays the version of MySQL your databases are using. This information is crucial for compatibility with your applications.
- Log in to Hostinger
- Navigate to MySQL Databases
- Check the Current MySQL Version field
Keeping your MySQL version up to date ensures better security and performance. Regularly checking the version helps you stay informed.
Using Phpmyadmin To Check Version
Checking the MySQL version in Hostinger is crucial for managing databases. Using phpMyAdmin makes this process simple. It’s a popular tool that offers a user-friendly interface. This section will guide you on how to check your MySQL version using phpMyAdmin.
Accessing Phpmyadmin
First, log in to your Hostinger account. Navigate to the “Databases” section in your control panel. There, you will see the phpMyAdmin icon. Click on it to open phpMyAdmin. You may need to enter your database username and password.
Finding Mysql Version
Once inside phpMyAdmin, look at the home screen. You will see various tabs and options. Check the top-right corner for the “Database Server” information. Here, you will find the MySQL version displayed. It is usually listed next to the server type, like ‘MySQL’ or ‘MariaDB’.
Verifying Mysql Version Via Command Line
Do you need to check the MySQL version on Hostinger? You can verify it via the command line. This method is quick and accurate. Follow this guide to learn how to do it.
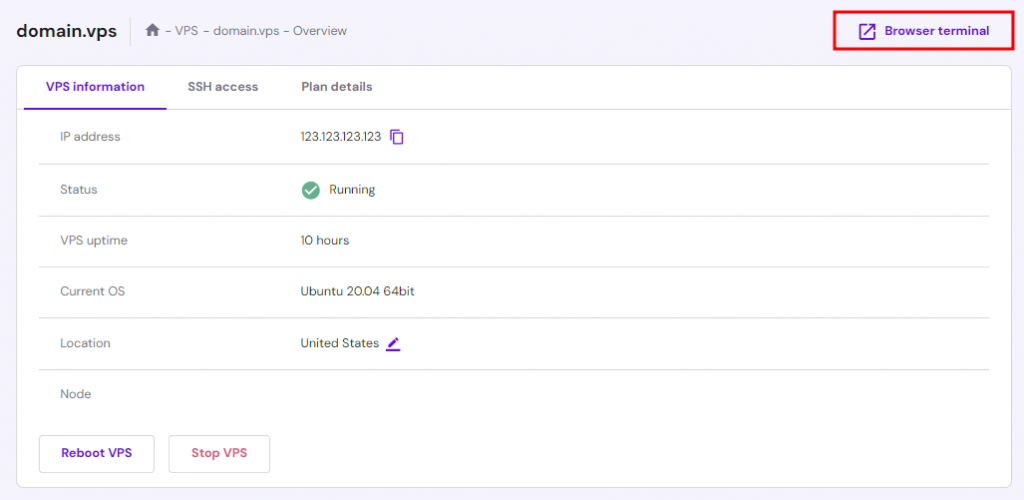
Accessing Ssh
First, you need to access SSH. Open your hosting account dashboard.
- Go to the Hosting section.
- Select your hosting plan.
- Look for the SSH Access option.
- Click on it to find your SSH credentials.
Use these credentials to connect via an SSH client. If you are using Windows, you can use PuTTY. Mac and Linux users can use the terminal.
Running Mysql Version Command
After accessing SSH, you can run the command to check your MySQL version. Here is the command:
mysql -VThis command will return the version of MySQL installed. For example, you might see something like:
mysql Ver 14.14 Distrib 5.7.31, for Linux (x86_64) using EditLine wrapper
The version number, in this case, is 5.7.31.
Ensure to run this command in the terminal after logging in via SSH. This method provides an accurate version detail of your MySQL installation.
Updating Mysql Version
Keeping MySQL up-to-date is crucial for security and performance. Hostinger makes it easy. Updating MySQL can seem complex, but we’ll guide you through it. This process involves backing up data, updating MySQL, and performing checks. Let’s get started.
Backup Your Data
Before updating, backup your data. Use Hostinger’s backup feature or export your databases using phpMyAdmin. This step ensures your data is safe in case of issues.
Log in to your Hostinger account. Go to the Control Panel. Click on the “Backups” option. Follow the prompts to create a backup. Store it safely.
Updating Process
Next, update MySQL. Hostinger usually updates MySQL automatically. But you may need to check the current version.
Log in to your Hostinger account. Open the Control Panel. Navigate to the “MySQL Databases” section. Check the version listed.
If an update is needed, Hostinger support can help. You may also use SSH to update manually. Follow Hostinger’s guidelines for a smooth update.
Post-update Checks
After updating, verify everything works correctly. Check your websites and applications. Look for any issues or errors.
Test database connections and query performance. Ensure all features are working. If you find issues, consult Hostinger support.
Regularly updating MySQL keeps your site secure and efficient. Stay proactive with updates and backups.
Troubleshooting Common Issues
Experiencing issues while checking MySQL version in Hostinger can be frustrating. This section addresses common issues and provides solutions. Let’s dive in and resolve them efficiently.
Connection Issues
Sometimes, you might face connection issues when checking your MySQL version. Here are some steps to troubleshoot:
- Ensure your database credentials are correct. Verify username, password, and database name.
- Check your host settings. It should be ‘localhost’ or your server’s IP address.
- Verify your network connection. Ensure you’re connected to the internet.
- Confirm MySQL service is running. You can restart it from Hostinger’s control panel.
Follow these steps to check MySQL service status:
- Log in to Hostinger’s control panel.
- Navigate to the ‘MySQL Databases’ section.
- Look for the service status. Restart if necessary.
Version Mismatch Solutions
Sometimes, a version mismatch issue might arise. Here’s how to tackle it:
| Problem | Solution |
|---|---|
| Older MySQL version than required | Upgrade MySQL from Hostinger’s control panel. |
| Compatibility issues with application | Check your application’s requirements and adjust MySQL version. |
| Incorrect MySQL version displayed | Clear browser cache and check again. |
Always ensure you are using the latest MySQL version compatible with your applications. This will help avoid issues and ensure smooth operations.
Frequently Asked Questions
How To Check Mysql Version In Hostinger?
To check your MySQL version in Hostinger, log in to your control panel. Go to the MySQL Databases section. Look for the MySQL version displayed on that page.
Where To Find Mysql Version In Hostinger?
You can find the MySQL version in Hostinger’s control panel. Navigate to the MySQL Databases section. The MySQL version is displayed there.
Can I Update Mysql Version In Hostinger?
Yes, you can update the MySQL version in Hostinger. Contact Hostinger’s support for assistance. They will guide you through the update process.
Why Check Mysql Version In Hostinger?
Checking the MySQL version ensures compatibility with your applications. It helps in troubleshooting issues and planning updates. Always keep your MySQL version up to date.
Conclusion
Checking your MySQL version in Hostinger is simple. Follow the steps outlined above. You will have your MySQL version in no time. This helps you manage your database better. Always keep your software up to date. It ensures security and performance.
Now, you can maintain your Hostinger-hosted websites more effectively. Happy managing!